I wasn’t looking forward to these pieces. I was more-or-less dreading these pieces.
Why?
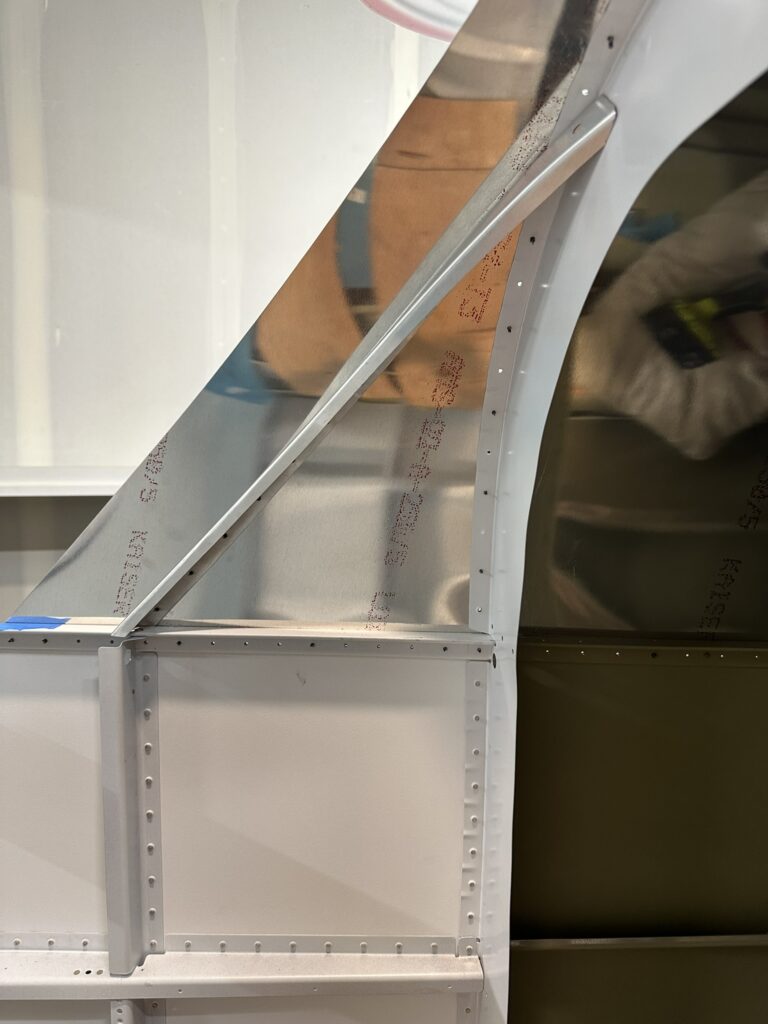
Well, I’ve long felt that pieces numbered 6XX are holdovers from the RV-6, a plane that offered less prefabrication and required more work to fit. I could probably verify this assumption with some quick research but I’d rather just continue on with my guess work and unfounded assumptions. I assumed the F-6111 would be the same.
The instructions encourage “twisting,” “fluting,” and “trimming.” They also referred to a plan sheet I wasn’t in possession of, and there were scant other details on how these things fit. So, like anytime I’m without what I feel is proper instruction, I took a look at the people who’ve previously charted this territory and their documentation.
I found some great help from a set of nearly twenty-year-old build logs detailing these pieces. Here’s what I found to be the most help:
- File, sand, or adjust–don’t cut/trim. There isn’t much adjustment needed here, and while this is playing with semantics a bit, the words trim or cut connotate a lot more adjustment that what is needed.
- Start from the bottom and work up. That simply. Pop a bottom hole, cleco, and keep working up until the piece won’t fit. Then you know where you need to adjust.
With those two pieces of information, some tin snips, a file, and some caution in the wind, I just went head first into this thing.
The work is iterative, but removal of the piece for adjustment is painless and with work (about a dozen adjustments) you can get this thing fitting really well.
These two pieces turned out to be incredible satisfying, fun, and gave a great sense of accomplishment. Maybe I won’t anticipate complications from every 6XX part from now on…