After some final riveting, the time had come for the big flip. Originally only two of us were going to attempt this, but required a third person to step in. You really need two up front and one in back at the least–as far as I could assess. Dropping this thing would have been a bummer, to say the least.
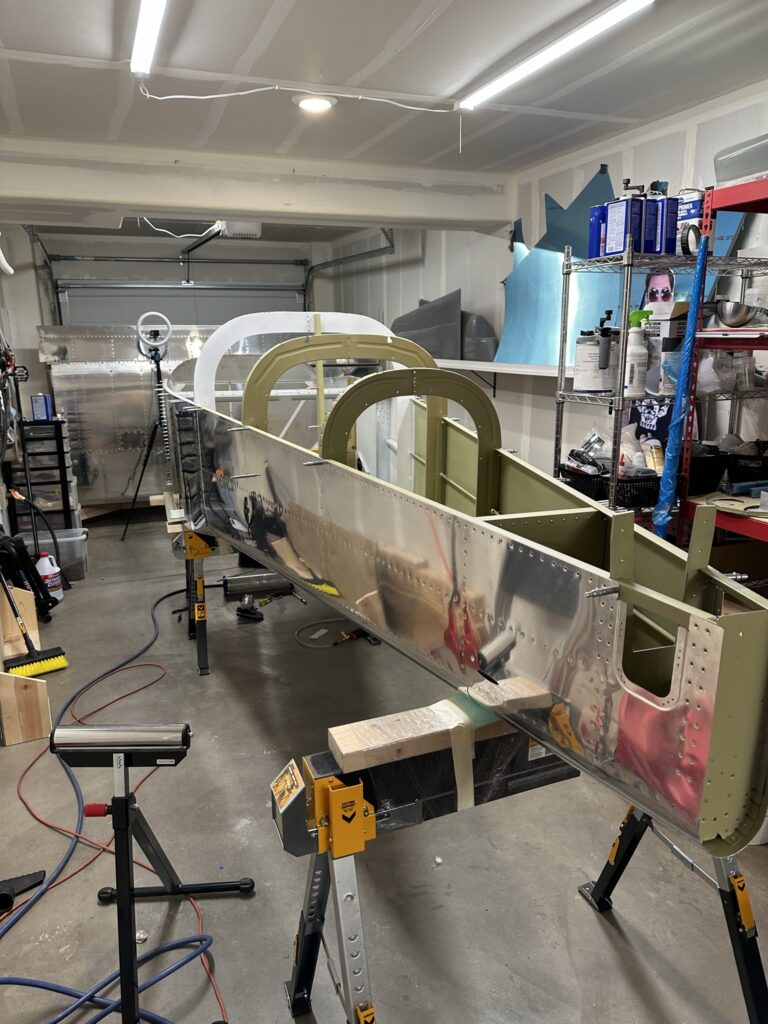
I adjusted the sawhorses to their lowest setting except for the rear one, which was adjusted slightly up and positioned roughly where I calculated is should be to have the fuselage be level.
The flip itself took about 30-45 seconds, and the whole thing was set back down quite uneventfully. After ensuring it was secure, on the padding, and the third (rear) sawhorse was functioning as intended, I was able to step back and see the work.
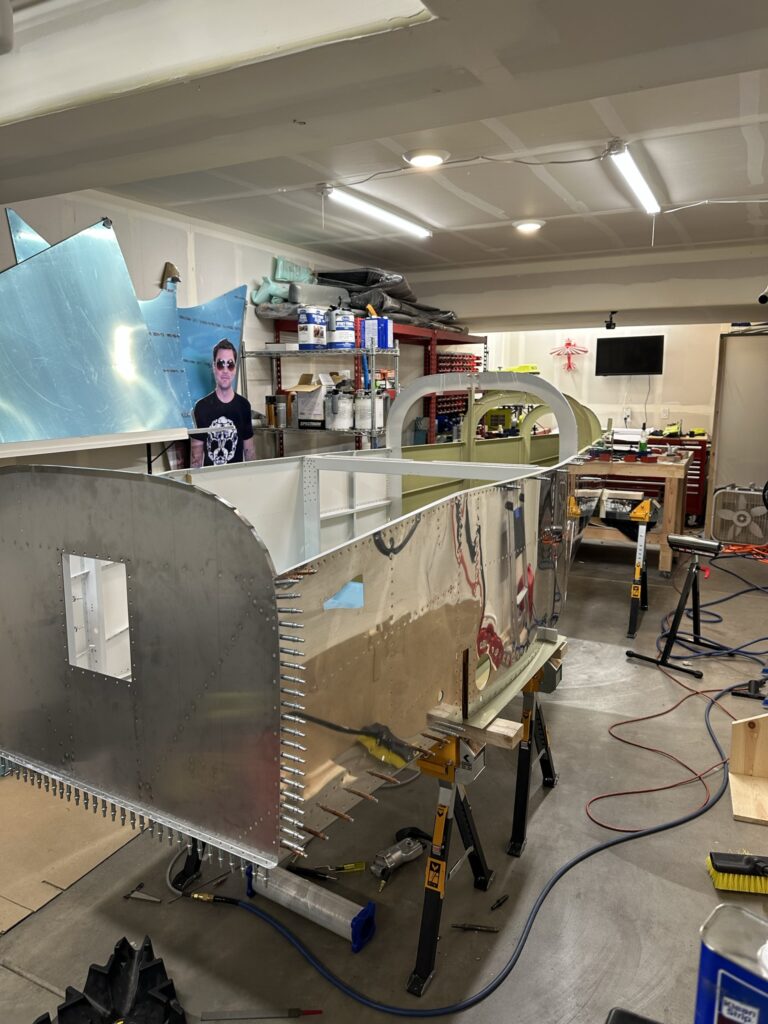
It’s impressive, and requires a bit of reflection on how much work it took to get here. Not just the fuselage, but the tail surfaces, packaged and on the shelf, and the wings stowed just in front of the fuselage at the front of the garage. What an impressive project!
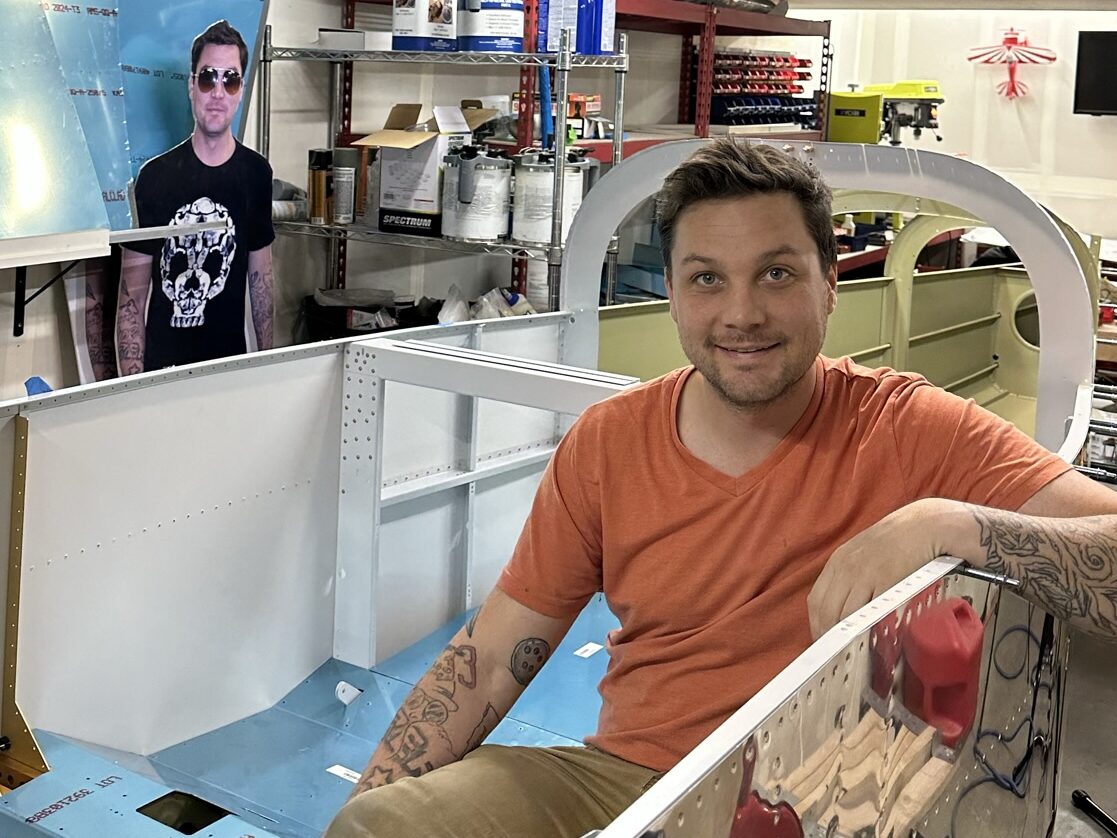
Obligatory in-cockpit shot. Getting in is nerve-wracking. I suggest using wood across the ribs instead of the skins, which are thin and lack the provided structural integrity that the rivets provide at this point.