This piece of the build has been giving me anxiety for months. Today, I feel it’s been put to rest.
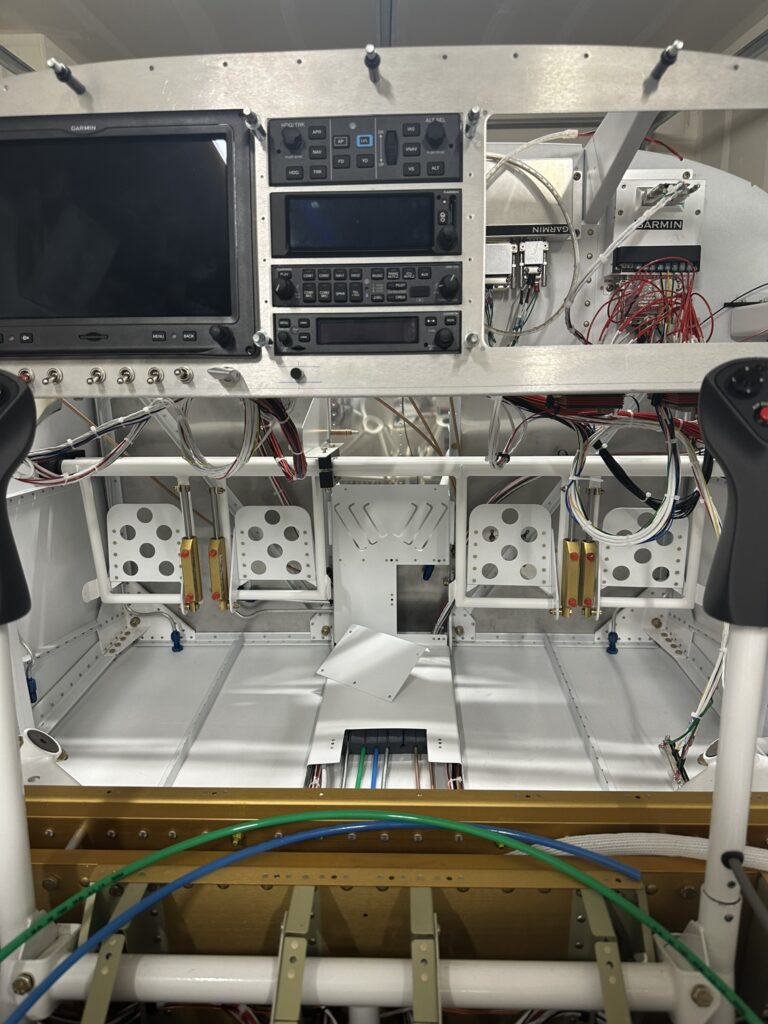
First, let me say, this wasn’t without great amounts of trial and error. Everything from the order in which items are run (does coax go to the right or left of pitot/static?) to the foam used for organizing these things (I’m on my fourth try).
But I got it done, and I feel like all that trial and error was necessary to get this to the state in which I was happy with it.
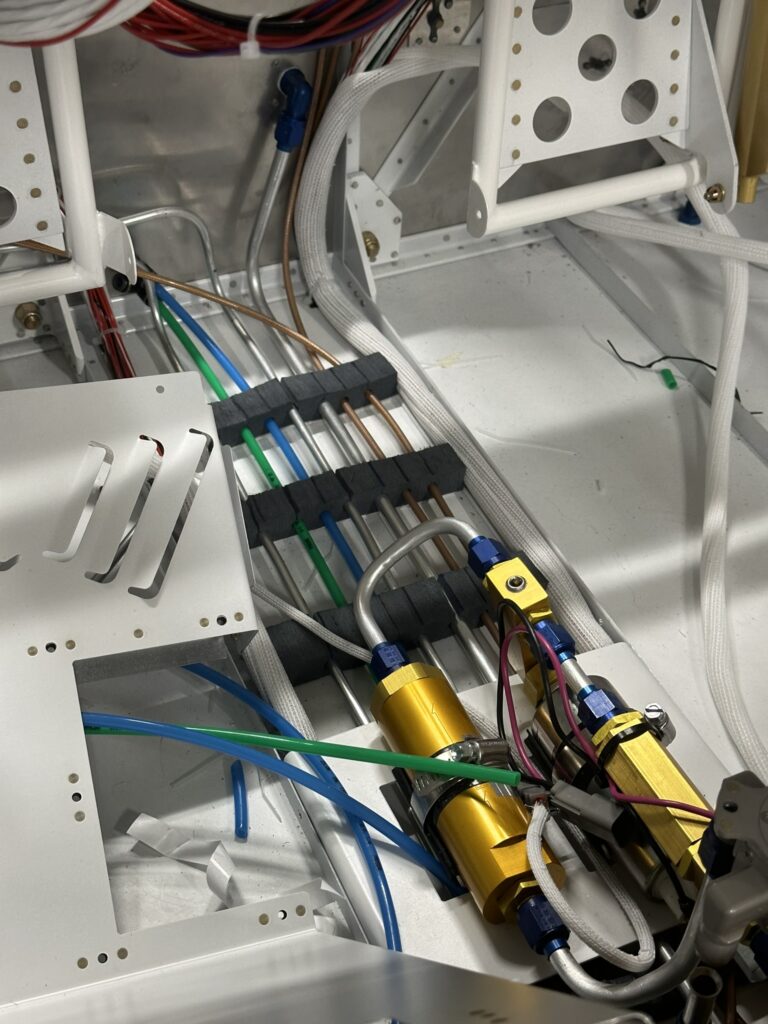
I wound up removing the white wire sheathing entirely–it added to much “girth” to the runs, and became an ongoing problem. It prevented tighter movements of the cable, and wires kept popping out.
Instead, we’ll rely on good old-fashioned cable ties (zip-ties), adel clamps, and these fantastic little epoxy wire mounts you can see featured in the videos.
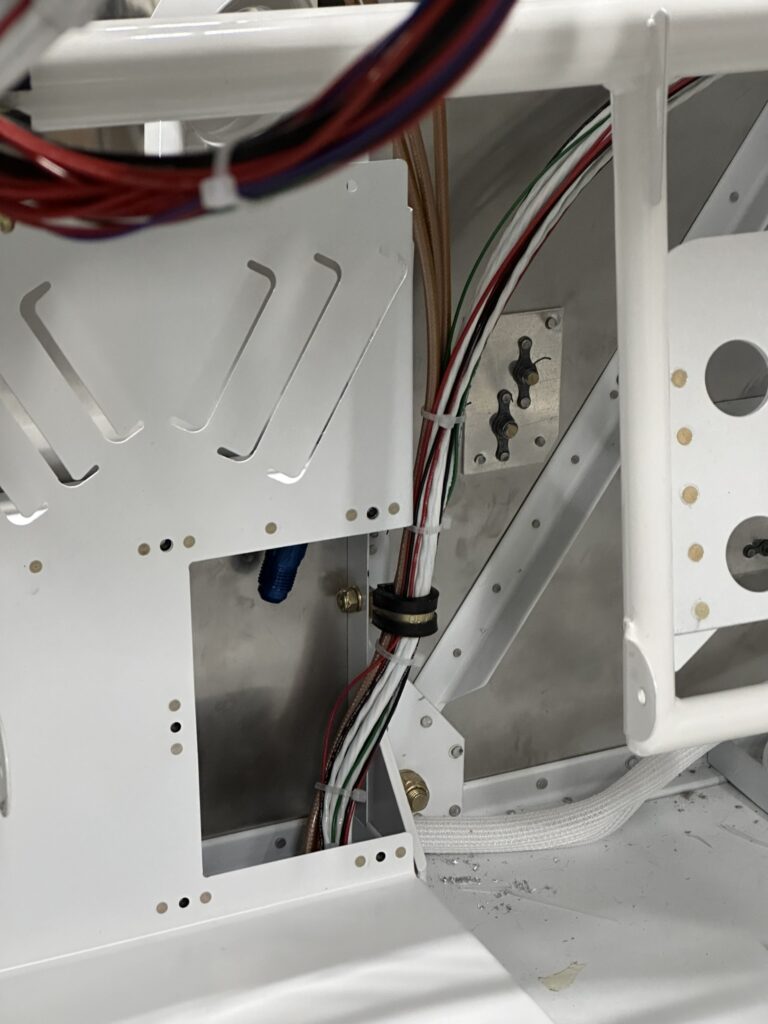
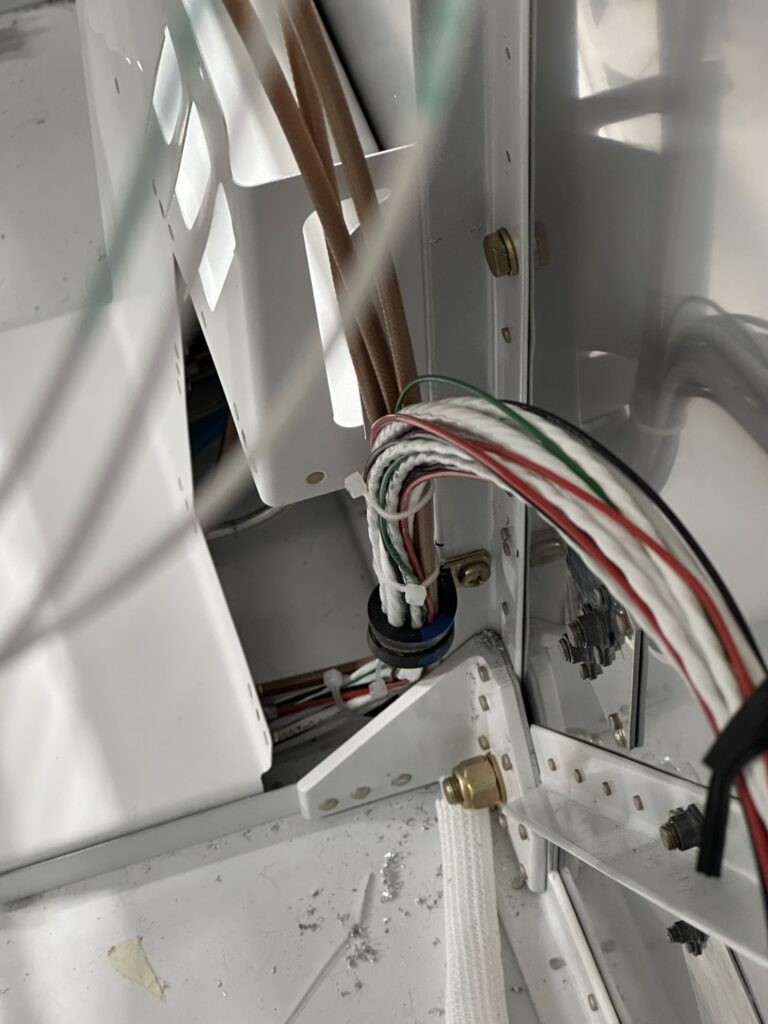
I spent hours crammed up under the panel, or alternatively breaking my back and sternum trying to hunch over. Getting things aligned without chafing is a major feat. I feel like I deserve an award.
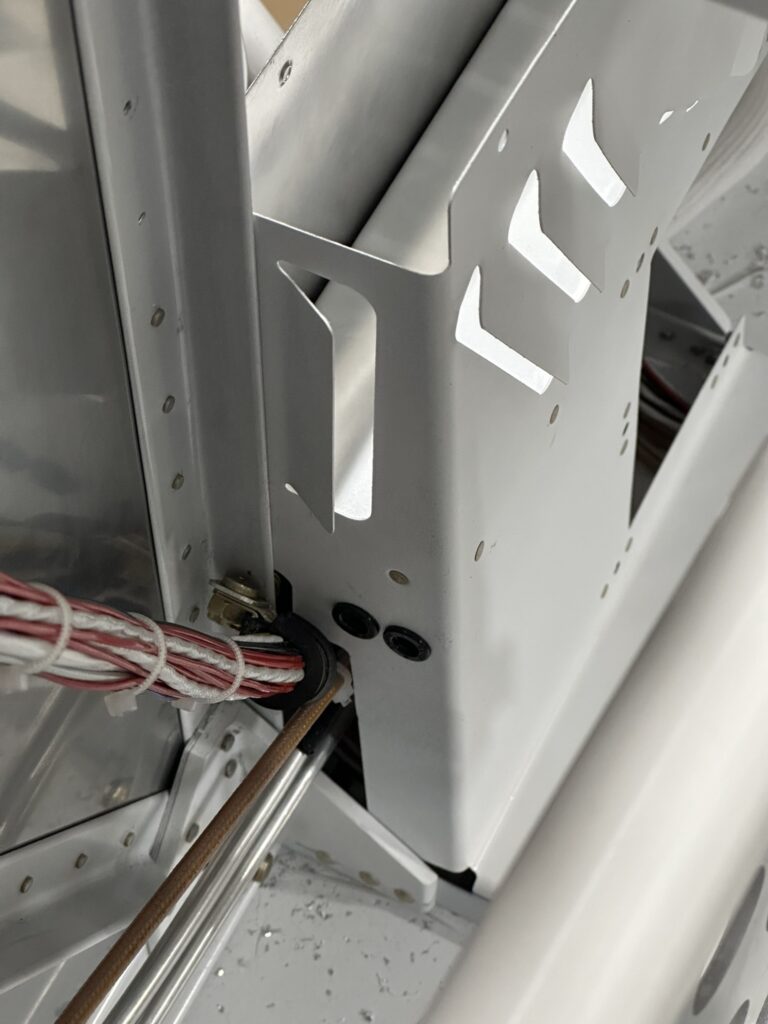
On the right hand, the exit had to be enlarged and then slightly enlarged again to make room for the bolt attaching the adel clamp. The clamp required a custom bracket. Below all this are the original runs for the two hard brake lines.
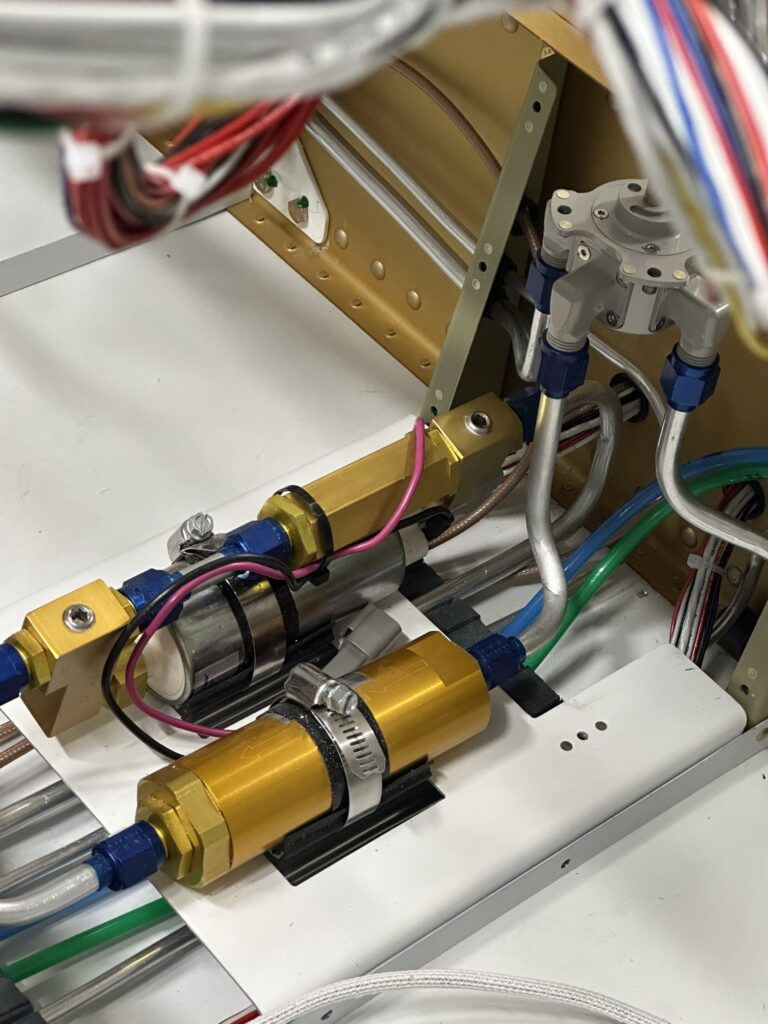
I reinstalled the fuel pump and filter, which has spent some time on the table as I’ve not only run other items around it, but rerun the main fuel supply which wasn’t to my liking. I can honestly say the whole area now gets my seal of approval.