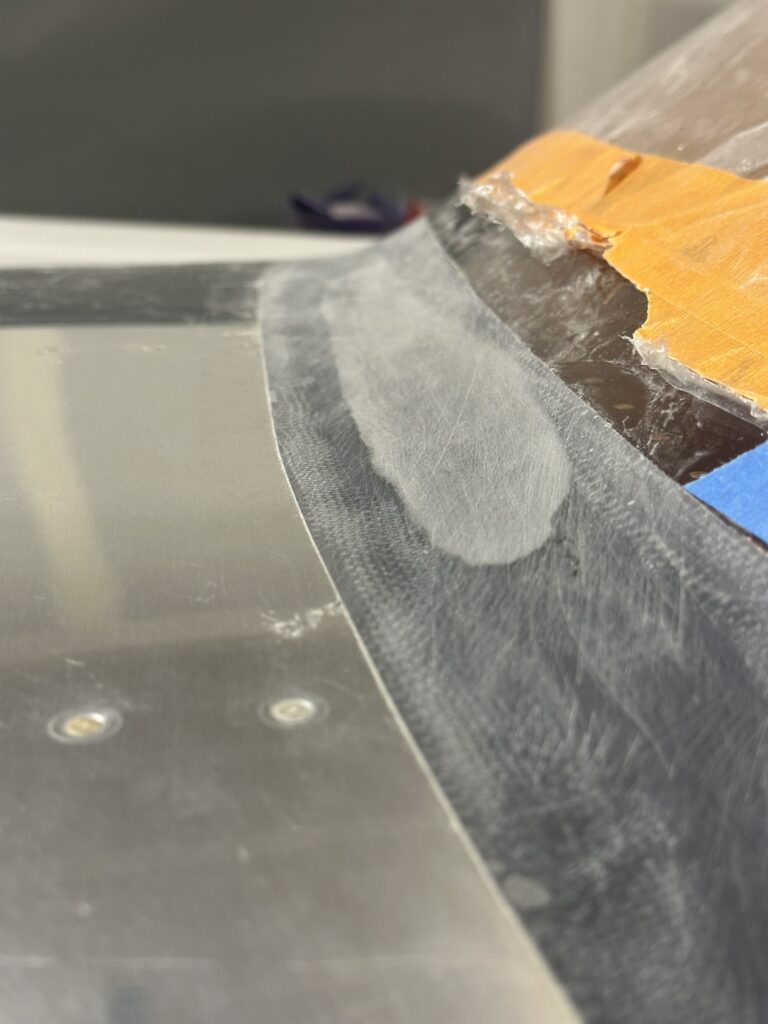
With the windscreen glued on to the plane, I now needed to create a smooth fairing. Arguably more intense than the rear fairing, there was some criteria I had to hit:
- Smooth transition on front portion of fairing (front skin to windshield)
- Thin, consistent band around top of windscreen (a challenge in areas where transition isn’t perfect)
- Tight seam around base of canopy (must cover overlap of skins, house side skirt, without looking too thick)
I dove head first in, and after 6 hours of epoxy, glass, and related supplies, I wound up with what I felt was an atrocity.
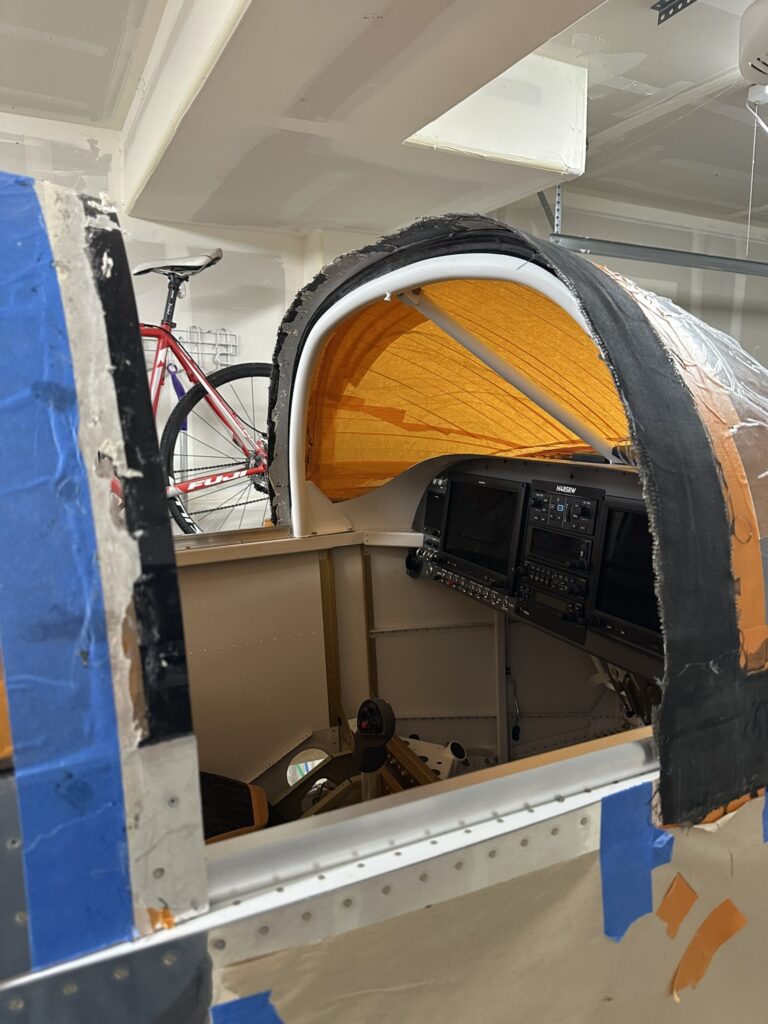
In addition to all this, the canopy was glued firmly shut, which took three hours to separate from the fairing.
After collecting myself and being grateful the canopy could open, I took to fairing the surround out.
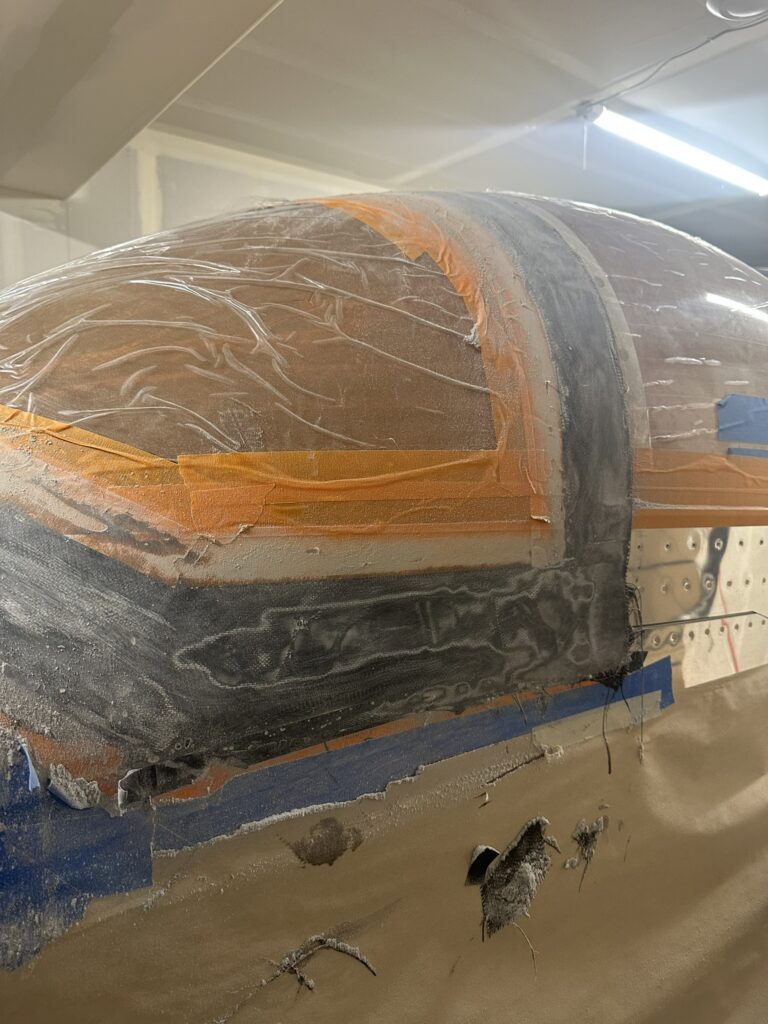
Through fairing, filling (filling was done with epoxy, epoxy + micro, and body filler), and more fairing, the form of the skirt started to emerge, and I realized I wasn’t too far off from any of my criteria.
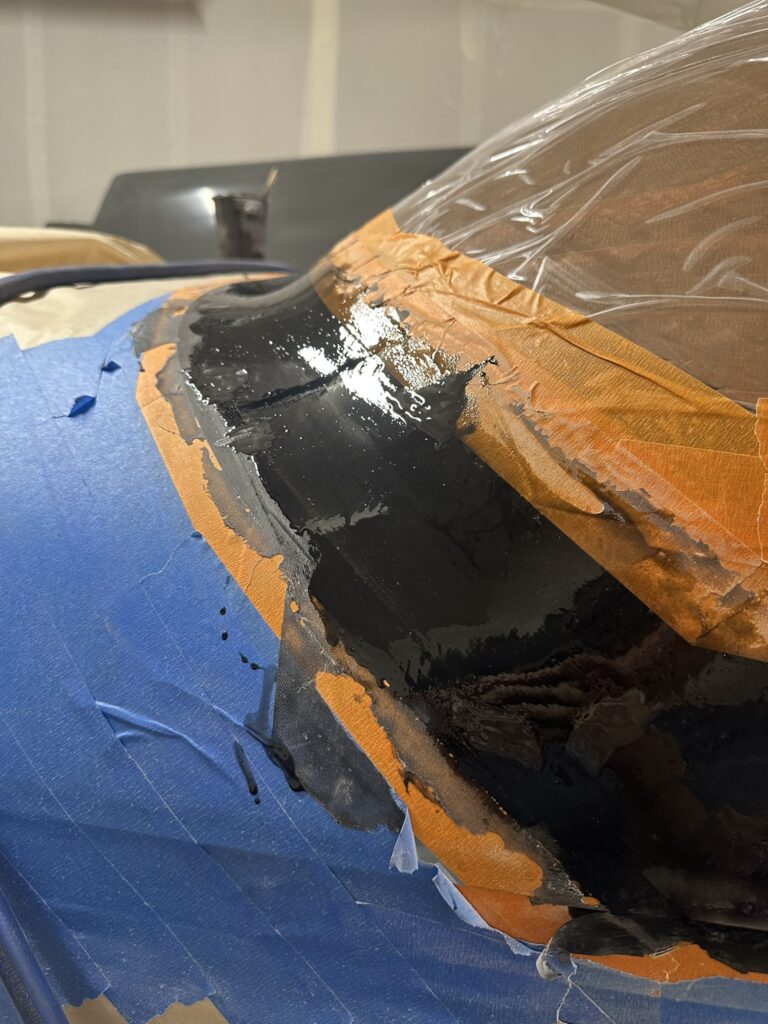
While there’s a little bit more to go, the canopy surround now looks extremely clean, smooth, and professional.