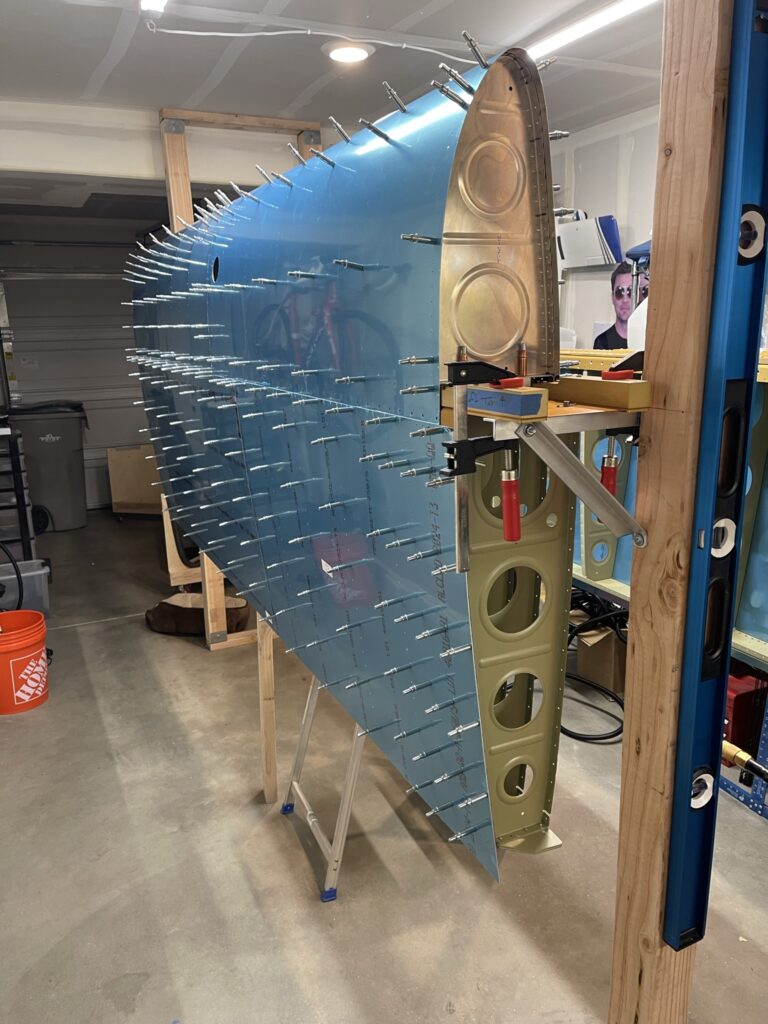
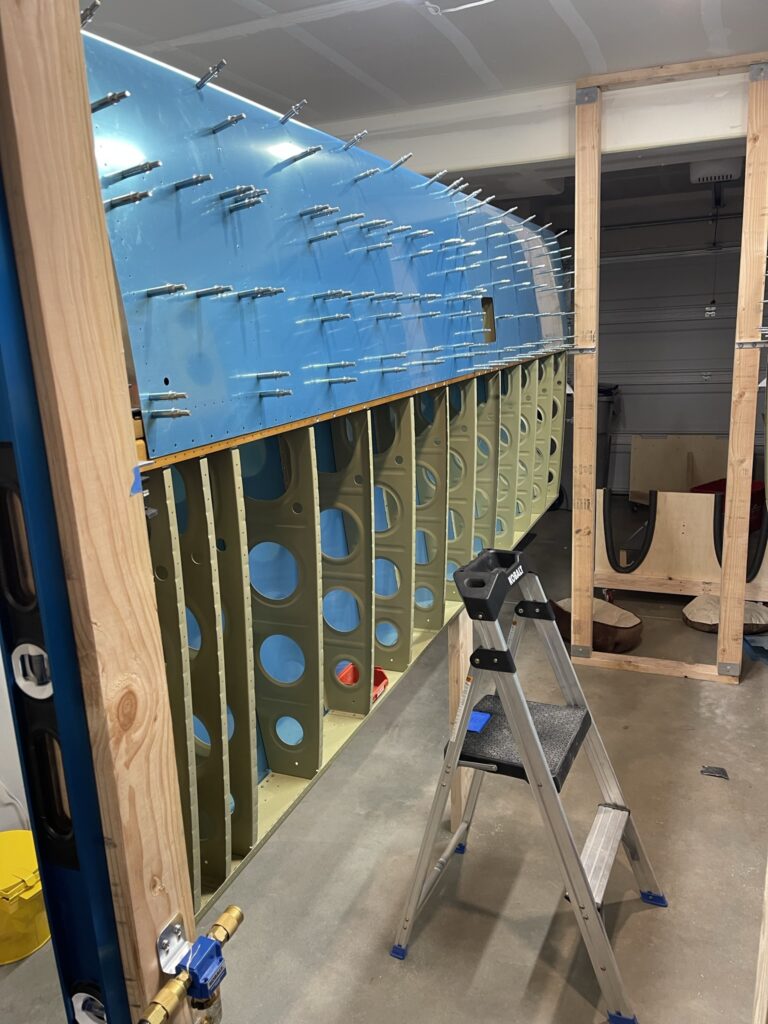
The tanks were clecoed together and and attached the wing. My videos go into detail, but this was a fairly painless adventure. I created the first tank on the bench, much like the leading edge. While this was a worthwhile adventure, it wasn’t exactly “correct.” The tanks are built on the wing in a few stages, then removed for match-drilling.
Having the tanks on the wing was another pretty neat milestone. A photo op for sure.
There is some ambiguity on how the tanks take shape on the wing. See previous post about instruction clarity. I figured it out, and in the end it isn’t a huge deal. It’s a good reminder that you’re on your own, to some degree, so be thinking as your putting this shit together.
I had more difficulty with the skin of the right tank. After thinking about it, I clecoed the right one starting with the bottom of the wing. I think this and this alone was the reason for my struggles on getting the skin to fit.
The way I see it, this is the last large milestone for a bit, and thus the time where the build appears to slow down. The wing came together quickly, but now we start the detail work…