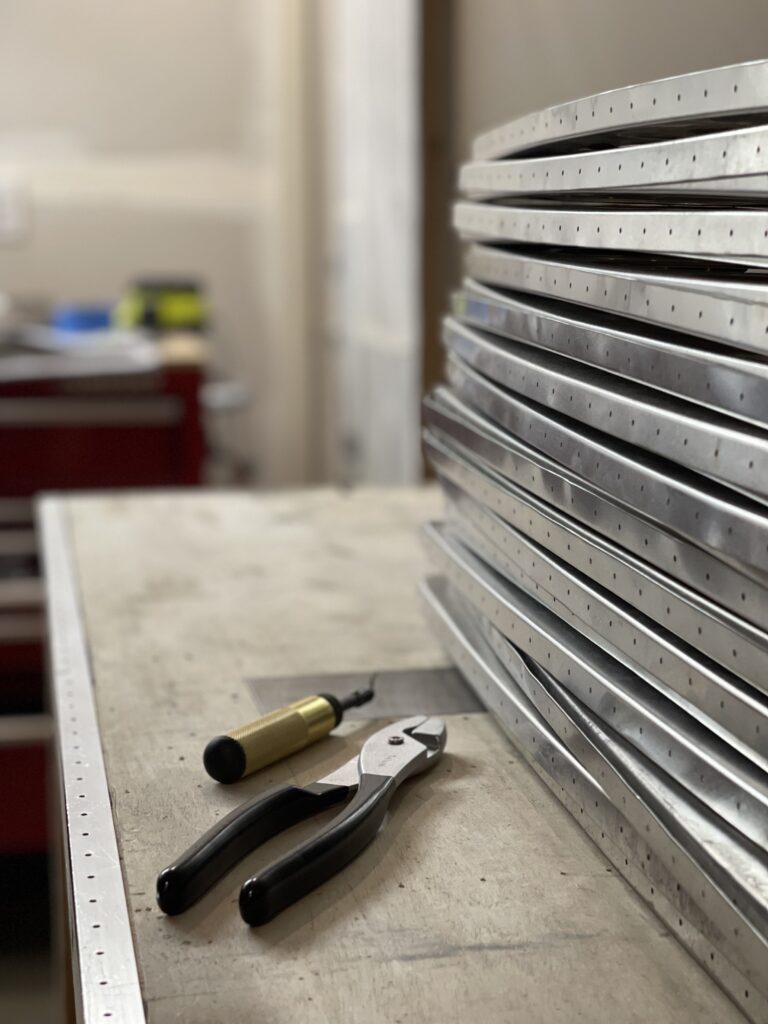
The last three-four days has been nothing but deburring ribs. I finally finished late this evening, with around 10 hours of deburring and related activities. Next up is straightening the flanges, and fluting the ribs. I’m hopeful these steps are a little quicker, because I’d love to get this wing mocked up with some clecos.
I am doing all ribs ahead of time. Though I may only be able to work on one wing at a time at points.
Anxiety sets in with a seemingly innocuous step in the instructions. Drill some holes for wiring conduit. But how many, and where? What systems will I be adding and how many wires do they have? It snowballs quickly.
Some things I’ve found helpful:
- The main conduit (added, not the predrilled–think lights, servo) should be in the top of the wing. This will make access easier though the bottom access panels, and will keep it out of the way as the top skins are added first.
- I’m going with 5/8″ loom from the wiring kit sold by Vans. This, according so some, is tight but adequate.
- Using the tooling holes can help line up ribs to transfer location marks from one to the next.
